Banana Bread
There are a couple of variations that I included in the recipe but not in the this loaf (the as-is loaf was a hit with my church so I'm not sure the additions are needed)
3-4 RIPE Bananas, mashed (this means going brown, not this side of green)
1/2 C Butter, unsalted, melted
1 C sugar, granulated (though brown would probably do well, too)
1 t Vanilla (or a combination of Vanilla, Rum extract, etc. This loaf has a 2:1 ratio of Vanilla to Rum)
1 Egg, beaten (in a separate bowl/mug)
1 Pinch Salt (regular iodized, not Kosher/Sea/Flaked/Himalayan)
1 t Baking Soda
1.5 C Flour, All purpose
1/2 C Chocolate Chips, semi sweet (optional)
1/4 C Pecans, Chopped. (optional)
Preheat oven to 350 and grease a ~4"x8"' loaf pan (I use the wrapper of the butter since you don't need a lot of butter to grease)
With a wooden spoon, mix the mashed bananas with the butter in a medium to large bowl. Add the Egg, Sugar, and Extracts. Stir. Add Salt and Baking Soda. Stir. Add Chips and/or nuts. Stir. Add Flour. Stir.
Bake for ~45-60 mn (usually closer to 45). Loaf is done when golden on top and a skewer/knife inserted and pulled out comes out without goop and a few crumbs (clean means it's over cooked).
Let cool in the pan, uncovered. Can be kept for several days, covered, in the fridge. I would recommend pre-cutting/removing from the pan before serving since it can be rather soft.
Cookie Snake
Adapted from Peppermint Plum's Sugar Cookie
We were presenting on a museum that had an exhibit called "Why did it have to be snakes" (or something like that, it wasn't important to the project) and instead of a more complicated (to carry) treat, we decided to do cookie snakes. Here's how I did my batch:
1 C Butter, unsalted
2 C Sugar
2 Eggs
3 t Vanilla
1 C Sour Cream
1 t Salt
2 t Baking Soda
5.5 C Flour, All purpose
0.5 tube green gel food coloring
3 drops each, red and blue food coloring
In a separate bowl combine the dry ingredients.
Cream Butter and Sugar. Mix in Eggs and Vanilla. Mix in Sour Cream. Incrementally mix in the dry ingredients (use 1/2 C increments or else your kitchen will turn white). Add the food coloring (or omit if you want regular sugar cookies). Mix thoroughly. Cover and refrigerate for >30 minutes.
Preheat oven to 375. Pull cookie sheets, line with greased parchment paper or silpats.
On a clean surface, powder lightly with powdered sugar. Pull a baseball sized lump of dough from the fridge. Roll into 1/3" wide lengths. slice them ~6-7" long and on the tray, create your snake. Good rule of thumb we found is: 2 Squiggles is a worm, 3-4 is a snake, even squiggles are intestines. Taper one end into a point and create a lumpy "head" at the other end.

This batch was more than 6-7", they expand too much for what I wanted
Bake for around 5 minutes, though they may take longer. Watch for the top texture to change but pull before the edges brown. A little tan is okay.
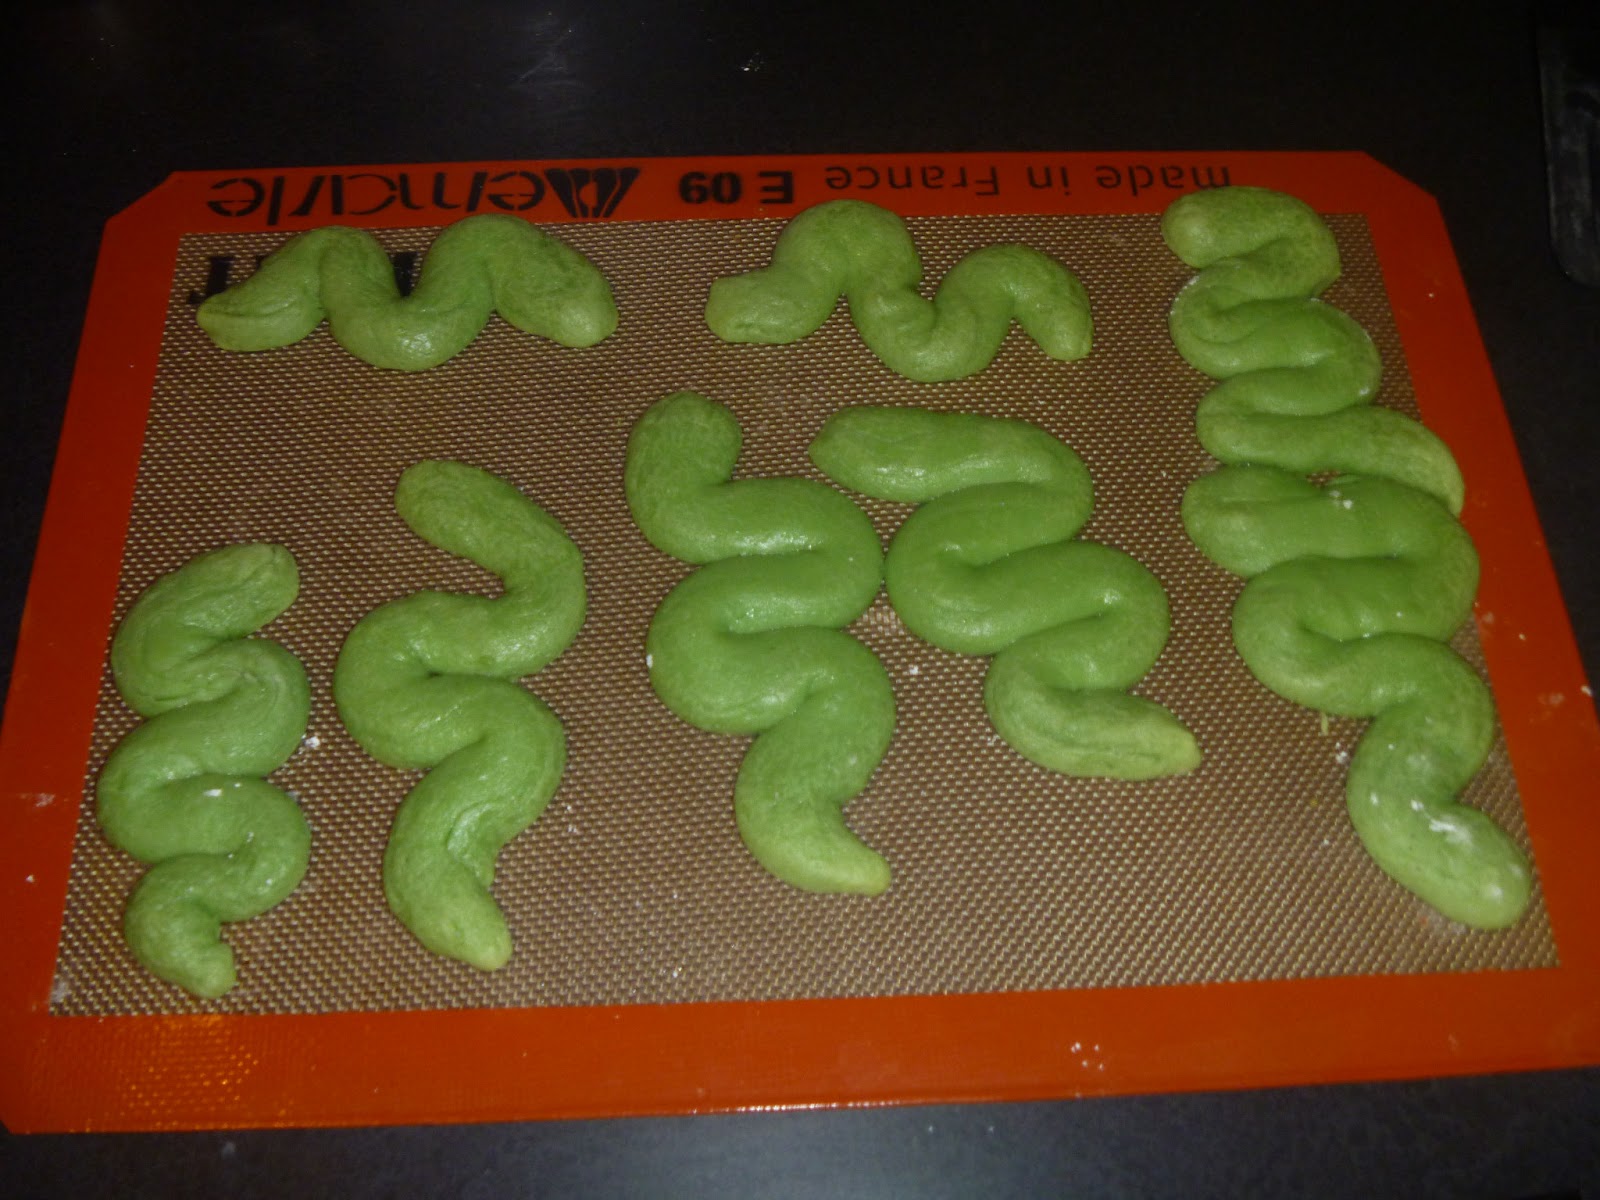
See? Expand too much.
Let the cookie cool for 1-2mn on the tray then pull silpat to cool more. Then transfer to paper plates or whatever to cool completely. At this point your can freeze or ice the cookies. To freeze, place in a tupperware type container and put parchment or waxed paper between layers.

Icing
Barely Adapted from Alton Brown's Royal Icing
One of my teammates just picked off the icing and ate that so I guess this wouldn't be in line with the royal icing I grew up using for gingerbread houses
Yellow Gel Coloring
3 Egg Whites (if you can find pasteurized egg whites, use that- roughly 6 T, I think)
~4 C Powdered Sugar
1 t Vanilla/Almond Extract (whatever flavor you feel like really)
If you are using unpasturized egg whites then I've been told you just need to heat them in a saucepan until warm (careful not too cook though) or you can risk salmonella, whichever. Moving on.
In an electric mixer, combine the egg whites and vanilla on medium speed until frothy. Add the powdered sugar in small ammounts until all combined. Mix on medium-high until stiff peaks form (8 minutes or so). Immediately transfer to sealable containers until ready to use. Make sure to have cookies are room temp before icing.
If you are adding coloring (I use 3/4 tube of yellow) add that into the frosting and mix thoroughly. Transfer to a piping tube. I may recommend 1-1 1/2T of liquid to thin it all out since it was a little too firm for my liking.

These were the rejects because of the wonky stripes/eyes but you get the idea.
I used one of those writing gel tubes for the eyes, they got everywhere, oh well, the "directors" thought they were adorable.


